Table of Contents
How to use your laptop as a monitor?
Use Your Laptop As Monitor –
Either for their portability or their convenience, laptops are one of the undisputed kings of modern computing.
Many users make use of their format and their peculiarities in their day-to-day lives.
Of the many things we can do with them, those related to connectivity are usually the ones that get the most out of these devices.
Perhaps this is why Microsoft has provided a way to connect to another computer from our laptop and use it as a second monitor as one of the Windows 10 options.
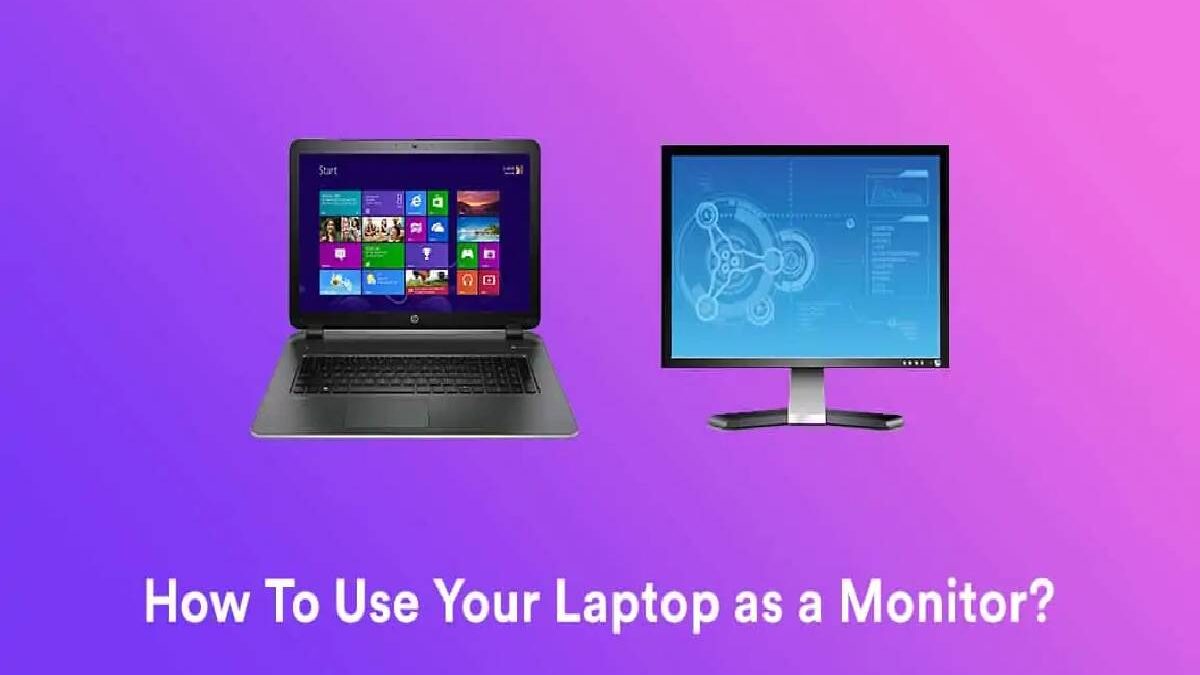
Today we will teach you how to use your laptop as a monitor step by step.
Using our laptop as a monitor
It is common to accompany our laptops with a second monitor to gain workspace and functionality.
That is why these equipment have built-in (on many occasions) video outputs, usually with the HDMI format.
To make use of this quality, you only need a compatible cable and a monitor that accompanies the laptop. However, today we are talking about something different.
If what we want to do is the reverse work, use our laptop as an external monitor for another computer, the task is much more complex than connecting a simple cable;
While the screen that we see in our laptops is connected directly to the equipment itself and does not usually have additional inputs.
There is a way to use our laptop as a second monitor: through the projection of the equipment.
This “team projection” is an option that we find in Windows 10.
It is not the only operating system to use functions of this type, and we can even find third-party programs to help us complete this task.
However, due to the enormous popularity of Microsoft’s OS and the ease of using an option built into the system itself, we will focus exclusively on the famous Blue Window operating system throughout this text.
Configuring our computer as a second monitor in Windows 10
To make use of this functionality, we will need at least two computers. We will start with the choices that we must make in the team that we will project.
We will continue on the options to follow in the equipment that will receive the laptop as a second screen.
Step 1: configure screen projection on the target computer
To configure these options, we must enter the OS configuration screen. To do this, we now have to right-click on the start button and select “Settings” in the drop-down.
Once there, we can enter “System” and, in the left sidebar, find the option “Projection on this computer,” where we will see a series of options that we will have to configure to use the screen.
We recommend the following:
- We should modify the “always disabled” for an option such as “Available on secure networks in the first drop-down.
Select “Available everywhere” in an option, but better to leave it on the home network (or the secure network we are using).
If you need to open this option on all networks, go ahead.
- The second drop-down is under “Request the projection on this computer,” and we recommend that you leave it at “Every time a connection is requested” to control which devices use this function.
- The last drop-down controls the inclusion of a PIN to use this function, and we recommend that you enable the PIN request.
- The last point, which is a switch, allows us to use this function without connecting the laptop to the power; It is up to how we want to use our device.
Once these simple steps finish, we can configure the options of the other device.
Step 2: configure the device that will “project” your desktop
In the second computer, we must connect to our laptop to use it as a monitor.
Continuing with the example of Windows 10, we will have to enter the configuration window; again, right-click on the start button and select “Settings.”
Once in configuration, we will go to “System,” and we will access the “Screen” option in the same window.
Step 3: Coordinating the projection and final words.
Once there, we will have to go to the option “Connect to a wireless network” (Next to the detection and identification buttons of a screen) and click on it.
It will direct us to a drop-down menu very similar to that of networks and wireless connections of the operating system.
In this menu, we will look for our laptop (under its name), and when trying to access it, if you have followed our recommendation, it will ask you for a PIN.
We will go to our laptop; we connect with the requesting device and enter the code provided by the equipment on the device to use.
If we have carried out these steps correctly, a projection of the desktop in question will appear on the screen.
The projection may not be as smooth as connecting a monitor to a second computer directly. But this option allows us to perform a couple of exciting manoeuvres.
First, we can configure mobile devices to be the ones that are projected on the monitor and thus reproduce multimedia content from these computers.
Related posts
Hot Topics
Unlock Success: Tips to Increase YouTube Subscribers
If your goal is to increase YouTube subscribers for your business channel, then you require a calculated approach to audience…
Engagement Rates with New Instagram Followers
Instagram Followers Having a lot of Instagram followers is cool. But does it do you any good? This article will…


